Mishaps in Screen Printing
Full disclosure, the results aren’t the best – maybe you can avoid my mistakes if this is your first time – If you’ve already done it all before you won’t learn anything so why not free up a weekend and read Andy’s post on watercolours – it’ll be far more interesting.
What you’ll need
For those of you who have stuck around – there are some things you’ll need.
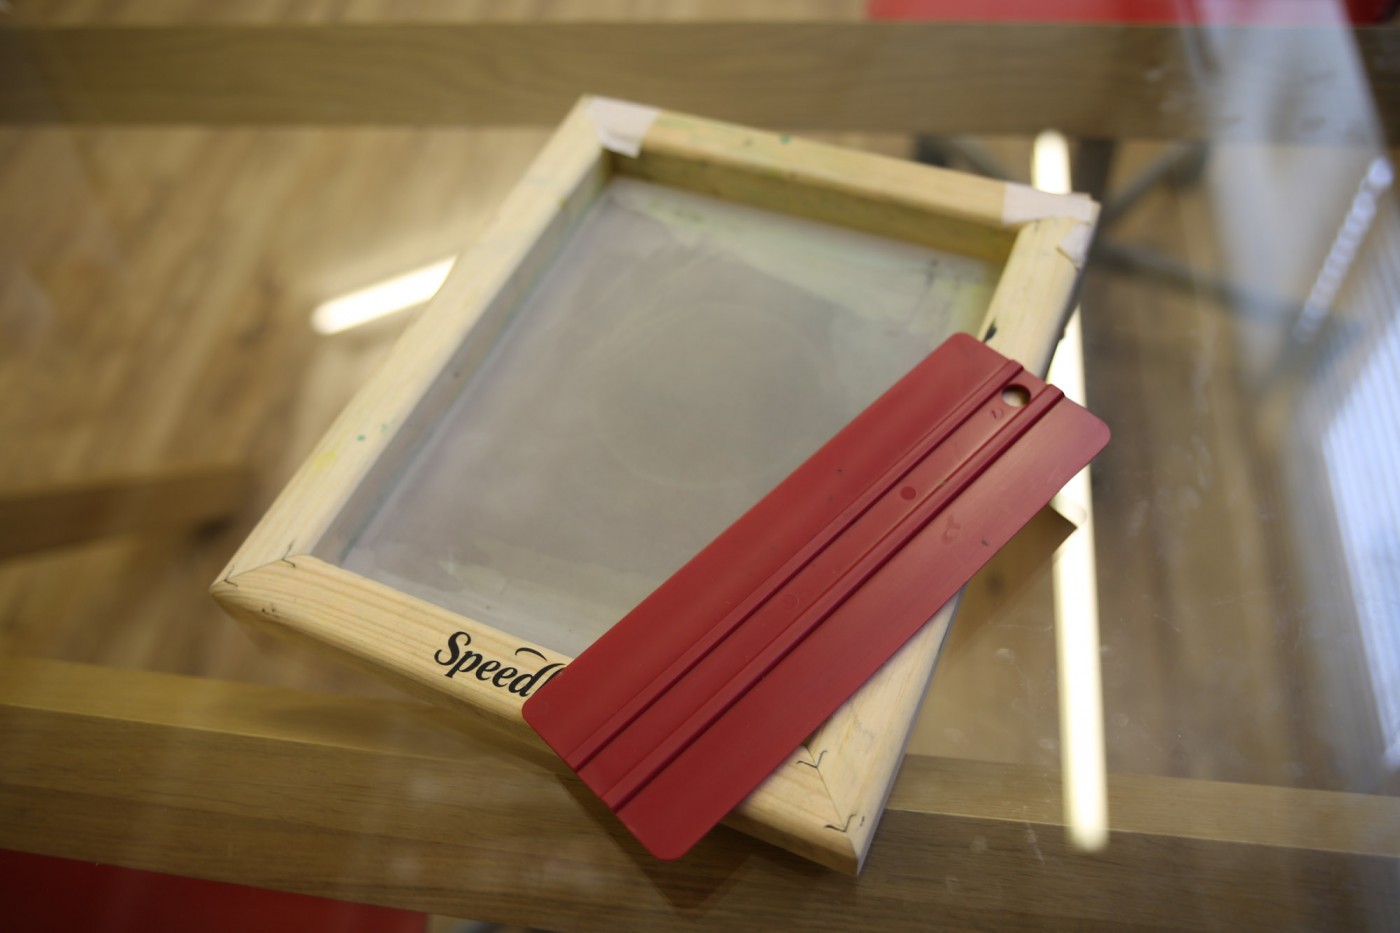
A basic screen printing kit. This Speedball one is great, it has the screen, a squeegee wotsit, some fabric paint and a scalpel.
Something to print on
Some acetate (OHP paper) to make the stencil
Masking Tape
Biscuits
Printing
All you’re doing is pushing paint through a membrane… sometimes – you can choose where it goes through and where it doesn’t in a couple of ways.
The simplest way is to cut a stencil out of acetate and stick it to the back of the screen. The acetate will stop the paint going through – you don’t use paper or card because it would get soggy.
The more involved way is to apply a photo-emulsion to the screen. An image is then transferred to the emulsion by shinning a bright light onto it. Dark areas stop the emulsion from setting allowing it to be washed out, areas light hits sets the emulsion within the screen and will stop the paint getting through. Take a look here to see this.
 It did a bit of experimentation to see how my stencils were going to look. I cut multiple stencils for each design which I could print one on top of the other.
To begin – stick a piece of card inside the shirt to stop paint bleeding through onto the back-side!
Stick your stencil to the back of the screen. Be sure to seal the edges with tape, you don’t want paint finding its way out of there, otherwise you’ll have a screen shaped square around your design.
Before you put the screen onto your shirt lay a bead of paint onto the screen and then ‘load the screen’. Push the paint with your squeegee at a 45 degree angle up the screen – to spread and even layer of colour across it – like putting jam on a sandwich. My photo doesn’t show the paint because I’m doing this a bit like Blue Peter (Here’s one I made earlier)
Carefully lay your screen onto your shirt – don’t move it around once you’ve put it down!
Do the same squeegee action again to transfer the paint onto the shirt. Press reasonably firmly.
Lift your screen carefully – in one direction, try not to twist it.
Oops – looks rather shabby. The bubbling effect in the yellow text is caused by the paint being lifted off of the t-shirt by the screen – this was because of a gap between the screen and the shirt. Oh and the blurred look is because I slipped. The other two layers are OK, The blue circle has an edge like that because of not pulling the paint all the way to the edge – but I kind of like that.
The bubbling can also happen when your lift your screen but your shirt sticks to it! I’ve seen some screen-printers have a table with holes in that suck down what you’re printing onto – sort of like a reverse air hockey table.
After making a bit of a mess of that, I secured my screen a little better and made sure to have no gap between the screen and the shirt. It turned out a little better this time…
What do you think?
My attempts aren’t as good as I’d like – but that’s how it is when you start – You can’t get good at something without having a few mishaps along the way – it’s all part of the process. If you’re interested in this sort of thing give it a go, take your time and embrace the mistakes.


